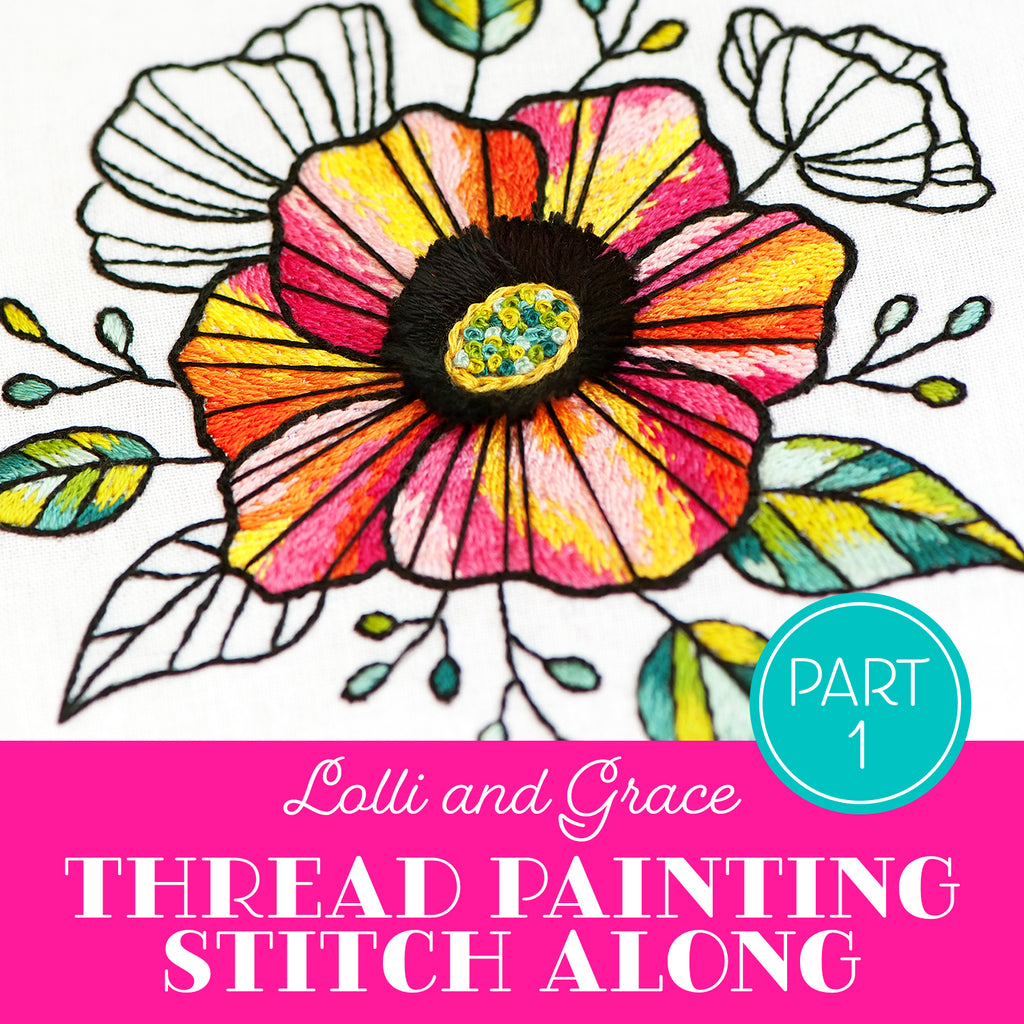

Lolli and Grace Thread Painting Stitch Along - Part One
Hello! I’m so glad you’re joining us for this stitch along! There will be five parts, with each part contained in a separate blog post. Each post will have written instructions, step-by-step photos, color/stitch charts and a video tutorial, where I will talk you through how to complete each section. Let’s jump right in, shall we?
Supplies
-1/4 yard white cotton fabric (I used Kona cotton, which is a good quality quilting cotton)
-6″ embroidery hoop
-1-1/2 yards of 1/2″ wide cotton twill tape
-DMC stranded embroidery thread in these colors:
- 605 Cranberry Very Light
- 602 Cranberry Medium
- 600 Cranberry Very Dark
- 726 Topaz Light
- 728 Golden Yellow
- 3853 Autumn Gold Dark
- 720 Orange Spice Dark
- 3761 Sky Blue Light
- 3810 Turquoise Dark
- 3808 Turquoise Ultra Very Dark
- 166 Lime Green
- 470 Avocado Green Light
- 310 Black
-#24 or #26 chenille needle
-Frixion “erasable” gel pen (size .07, any color is fine)
-7″ square of felt for hoop backing
-Hot glue gun (for adhering twill tape to hoop)
-Invisible tape
PDF Design
Click the link below to open the PDF pattern for printing.
Lolli and Grace Thread Painting Stitch Along Pattern

Wrapping Your Hoop
We will be making a lot of stitches for this design, so it is very important that the fabric remains extremely tight in the hoop the whole time you’re stitching. Wrapping the inner hoop with cotton twill tape will keep the fabric from slipping and loosening as you stitch. No saggy hoops for us!
-Use 1/2” cotton twill tape to tightly wrap the inner hoop, making sure the edges of the tape are butted up next to each other with no overlapping. This will provide a smooth wrap all the way around the hoop.
Slightly angling the tape will allow it sit smoothly on the hoop. Cut the twill tape at an angle and hold this angled end on the inside of the hoop. Make a few test wraps to see if you have the angle correct, then hot glue the end inside of the hoop. Continue wrapping/angling the tape as you go around, pulling tightly for each wrap.
-Sew the ends of the twill tape or hot glue them to the inside of the hoop when it is completely wrapped.


Stretching Your Fabric In The Hoop
Stretch the fabric in the hoop, continually tightening the screw and pulling the edges of the fabric until it is as tight as possible. Trim away the excess fabric, leaving about 1-1/2″ of fabric around the edge of the hoop.
You can watch a video tutorial of how to stretch your fabric in the hoop HERE:
How To Stretch Fabric In An Embroidery Hoop
Transferring The Design To The Fabric
Print out the PDF design and cut it out on the dotted line. Place the pattern behind your stretched fabric and tape it in place. Shine a bright light (either from a lamp or a sunny window) and carefully trace the design with the Frixion gel pen. This pen will allow you to “erase” the lines later, using the heat from a hair dryer.
Click HERE to see an in-depth video about how to transfer a design onto fabric, or click on the video below:
Separating Strands Of Thread
We will be using various numbers of strands for different parts of this design. Follow these instructions to correctly separate strands of embroidery thread:
How to separate strands of embroidery thread
Stitching The Black Outlines
For Part One, we will be stitching the black outlines of all the flowers and the leaves. The stitches we will be using are the split back stitch and the stem stitch.


Follow the chart below to stitch the black outlines for all of the indicated lines. Please note that the the colored lines on this chart do not indicate the color you will be using. Rather, they indicate how many strands and which stitch to use. STITCH ALL OUTLINES IN DMC #310 BLACK.

Video Tutorial For Part One
Here is the video tutorial that will show you in detail how to complete Part One:
OK everyone, have fun stitching. Make sure you come back for Part Two, because we will start using some COLOR – yay!